
Today I’m sharing something a little different; yes, there’s a recipe included, but this is more about sharing tips and hacks to level up your simple, quick and easy hummus (like the one I shared in this post) to the sort of ultra-creamy hummus you get in restaurants…
I’m sure I don’t have to explain why I love hummus; this chickpea-based dish is perfect for dipping, sandwiches and wraps; I often use it instead of butter on toast when I want to inject some flavour and texture quickly into my brunch recipes. It’s filling and satisfying and – as I showed with my original recipe – it can absolutely be done quickly. I make hummus around about once a fortnight, and most of the time: I use tinned chickpeas, but for a special occasion, let’s get into the ‘if you want to show off’ method!
3 ESSENTIAL TIPS


1. Use dried chickpeas
This is so much more effort, but I’m sorry to say that dried chickpeas create a much creamier hummus than the cheaper and more-convenient canned options! This requires a bit of pre-planning because you’re going to want to pre-soak the chickpeas for 8-24 hours beforehand in cold water (it’s crazy how much of the water they end up absorbing). I personally do this the night before or before I go to work if I’m making hummus in the evening. You then need to ensure they’re cooked thoroughly until completely softened (this is important not just for textural reasons but for food safety!), which I help along with some bicarbonate of soda.
2. Remove the skins
This is probably the key thing that stops me from making hummus like this every time, if I’m being honest! There are shortcuts but it’s so labour-intensive and seems to take even longer with dried cooked chickpeas than canned, but the difference it makes is immense. There are a few techniques that will remove most of the skins, and if a few escape your process, it’s probably not the end of the world. I take the cooked chickpeas in their boiling water and use any sieve-like utensil to dunk them into a large bowl of cold water; most of the skins will rise to the top, but you’ll need to change the water several times and do this in very small batches.
3. Blend with ice
Once you get to the stage of blending together your hummus, be sure to add a few ice cubes; this really helps to whip air into the tahini so it’s super-creamy; if you don’t have ice to hand then very cold water will still work pretty well.
Now, let’s get into my method…

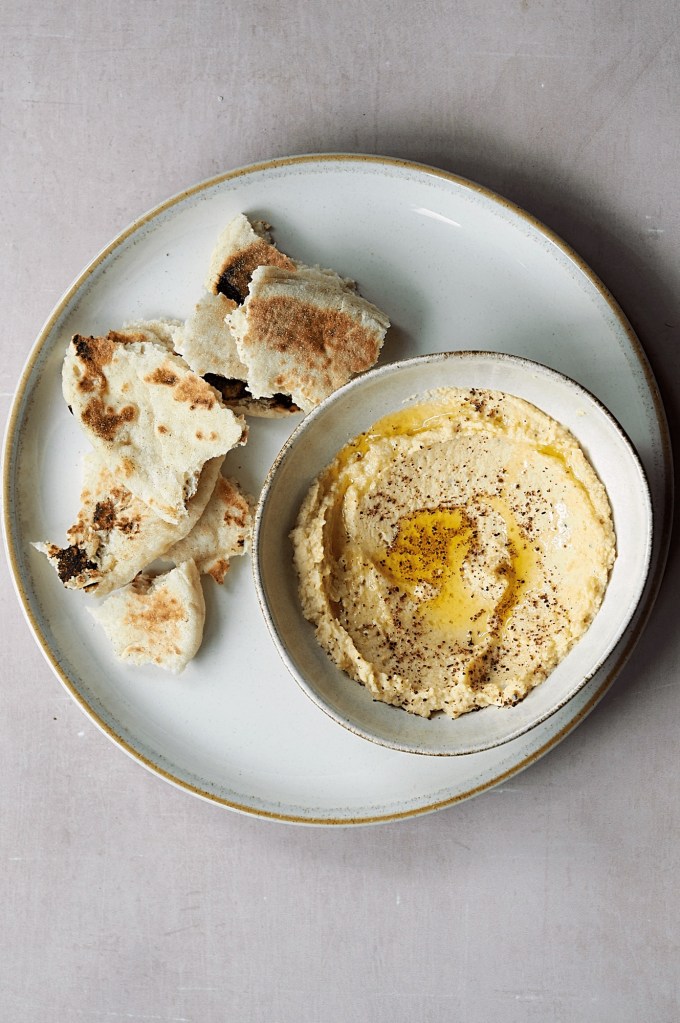
Creamy, restaurant-style hummus using dried chickpeas
An intermediate hummus recipe
Ingredients
- 250g of dried chickpeas
- 1 tsp of bicarbonate of soda
- 2 cloves of raw garlic (chopped) or 4 cloves of raw garlic
- 1 tsp of cumin
- 2-3 tbsp of tahini
- Juice of 1 lemon (optional)
- 1-2 tbsp of olive oil
- 2-3 ice cubes
- A sprinkle of sumac for topping
- Salt and pepper to taste
Directions
- Boil a full kettle and drain any remaining water from the pre-soaked chickpeas
- Bring the water to a rolling boil in a lidded pot over a medium-high heat
- Add the chickpeas and bicarbonate of soda, reduce the heat to medium and cook with the lid on for 30-40 mins
- Check the chickpeas are soft and completely cooked before removing from the heat and skim off any skins that have risen to the top
- Remove the skins from the chickpeas as far as is possible (tips are above but ensure you incorporate cold water so you don’t burn yourself)
- Add the chickpeas, tahini, salt and pepper to taste, tahini, garlic and to a food processor and ice cubes, blend until mostly smooth
- Wipe down the sides if needed, add the lemon juice (optional), a little olive oil (optional) and some additional ice if needed and blend for a further 60-120 seconds until the hummus is creamy and smooth
- Serve at room temperature with a drizzle of olive oil and a sprinkle of sumac over the top (optional)

Let me know if you try my method for the creamiest restaurant-style hummus!
See a step-by-step here:

Leave a comment